Setting up your GitHub Action
less than a minute
A new issue will be created in GitHub each time this
-
Once you test your Trigger data, you need to select an action app to use with the Trigger.
-
To add this action app to your
, click on the “add service” button. 
-
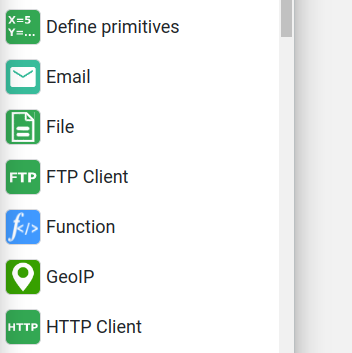
Select “GitHub” as your Action app from the list of
. -
Connect your GitHub account to Rapidomize and authorize Rapidomize to access your GitHub account.
-
Follow Guidance on How to set up GitHub on Rapidomize. Once connected, press select key to select your GitHub account.
-
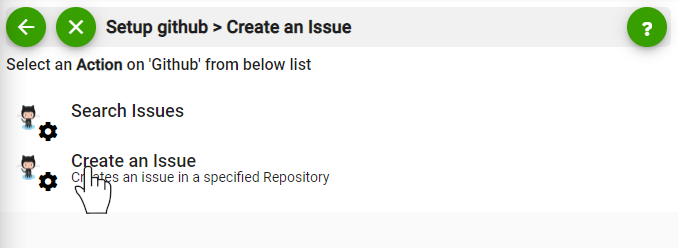
Select the “Action” by clicking on create an issue icon.

-
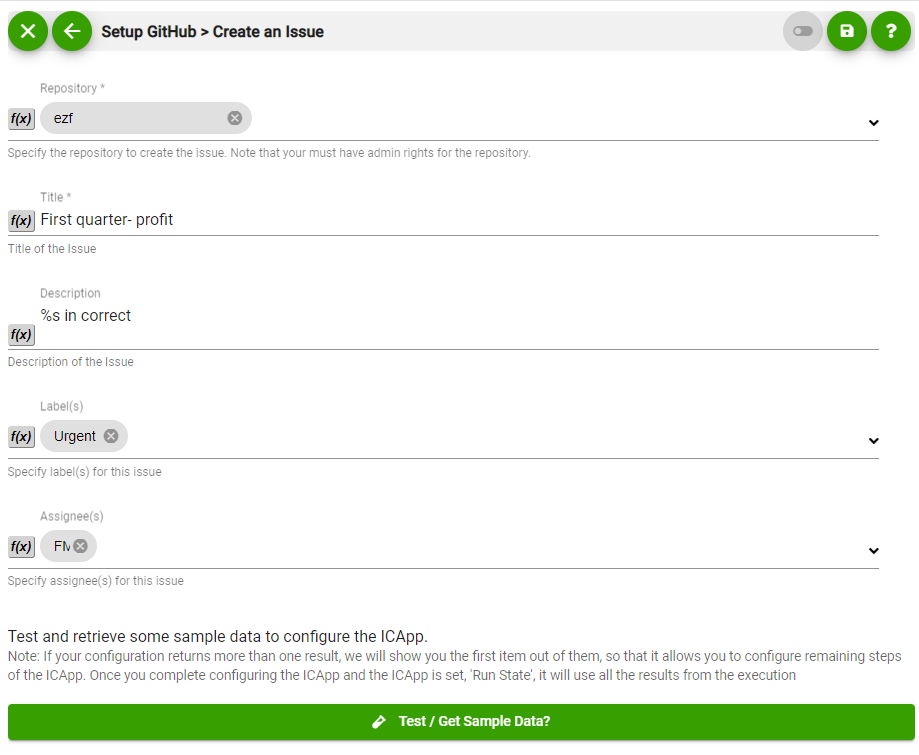
Specify the repository where you need to create the issue.
-
State the issue title.
-
Write down the details of the issue (Description, label, assignees) etc. as required.

-
Test your action by clicking on “Test / Get Sample Data”.
-
Save your
by clicking on “Save ”. -
You will get a card entry in “Intelligent Connected Apps page”.
-
To activate the
, turn ON the “Run” toggle slider. -
Click on “Status” icon on the card to see the status of your
from the Dashboard. -
Once you activated your
, it will run according to the specified schedule.