How to set up Webflow
less than a minute
-
To use Webflow with Rapidomize, you must connect your Webflow account to Rapidomize. If you already have an account with Webflow, you can use it. If not, you need to create an account with Webflow.
-
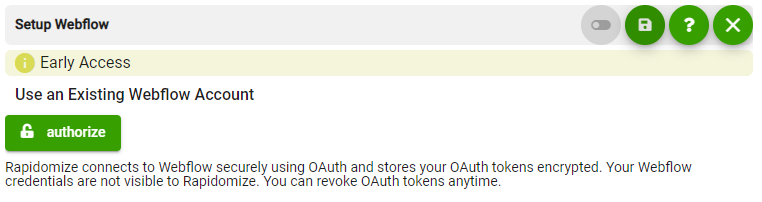
Once you select Webflow app from the list of
, authorize Rapidomize to access your Webflow account. -
Click “Authorize” to allow Rapidomize access your Webflow account.
-
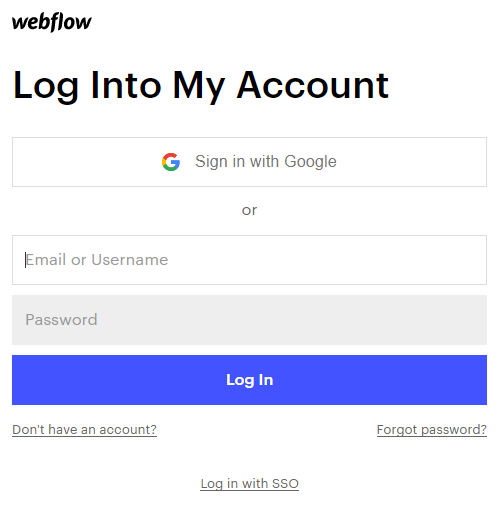
Sign in to your Webflow account and provide permission to Rapidomize, to access your Webflow account.
-
Full edit permission is required for create/update actions. You will only need “view only” permission for triggers and data retrievals.

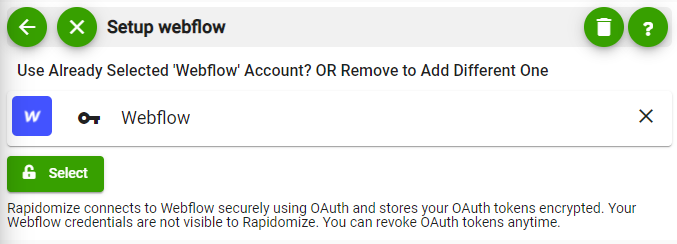
- Once Rapidomize is connected to your Webflow account, you can proceed with your
creation.
Tip: Whenever you want to select data values from previous steps, click
 button in your workflow.