Projects
less than a minute
A Project is considered as an umbrella entity that covers individual pieces like tasks, apps/devices …etc. in Rapidomize platform. Therefore, before creating various Apps, APIs, Devices, Tasks etc. you need to define a project under which it is going to be a part.
Follow the guidance given below to create projects with Rapidomize.
How to create a project
Select the Projects from the left hand side menu  . You will be directed to a page where list of existing projects are displayed.
-
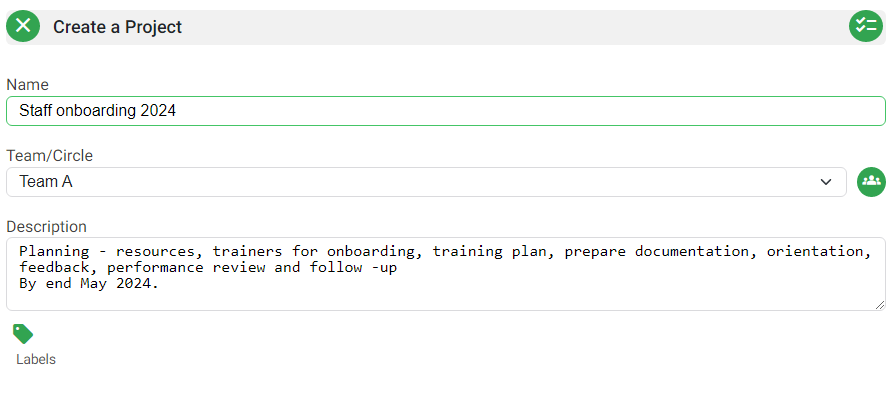
To add a new project, click (+) button on the top right corner.
-
Type the Project Title.
-
Define the team who will be working on the project (if required) If you are going to perform
Tasksunder this project, you may need a project team. -
You can define a new team using the
 icon or
 Create new team button. Refer how to create a team for further details. If you want to use an existing team, choose your team from the
 Teamdrop down menu. -
You can provide project details under
Description. -
Click the
create button to save your project .
- Now, you can start creating your Apps, Devices, Tasks etc. which will be done under this project.