Setting up your Acuity Scheduling Trigger
When new Appointment
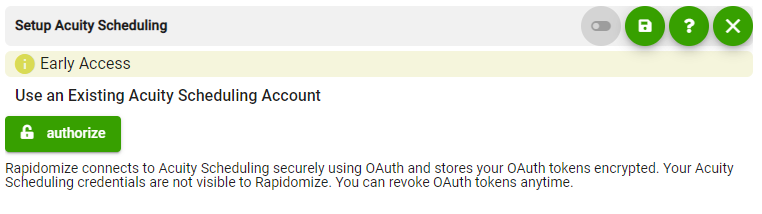
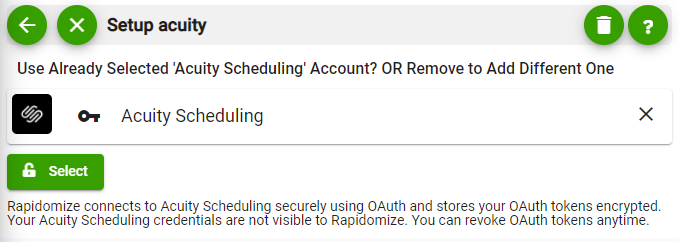
To use Acuity Scheduling with Rapidomize, you must connect your Acuity Scheduling account to Rapidomize. If you already have an account with Acuity Scheduling, you can use it. If not, you need to create an account with Acuity Scheduling.
Once you select Acuity Scheduling app from the list of
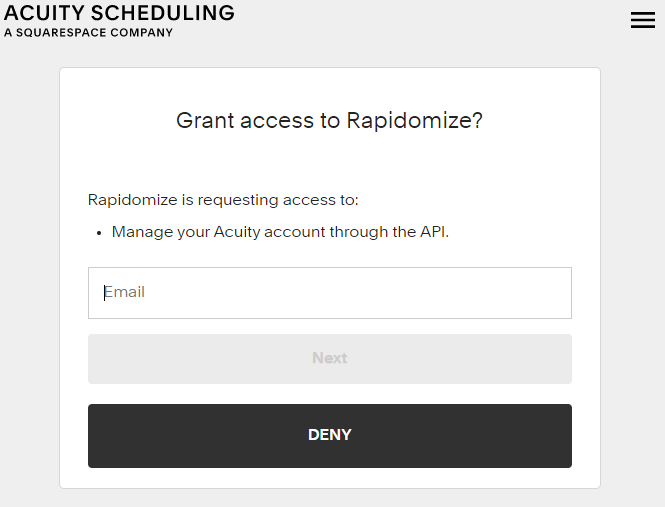
Click “Authorize” to allow Rapidomize access your Acuity Scheduling account.
Tip: Whenever you want to select data values from previous steps, click
 button in our workflow.
When new Appointment
Create an appointment