Setting up your Acuity Scheduling Action
An appointment will be created in acuity scheduling as per your instructions, each time this
-
Once you test your Trigger data, you need to select an action app to use with the Trigger.
-
To add this action app to your
ICApp , click on the “add service” button.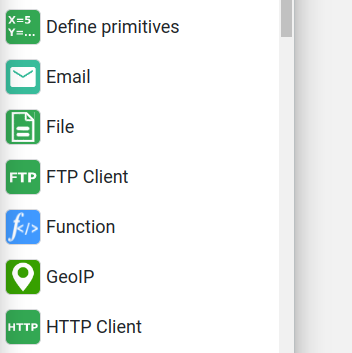
-
Select “Acuity Scheduling” as your Action app from the list of
ICApps . -
Connect your Acuity Scheduling account to Rapidomize and authorize Rapidomize to access your Acuity Scheduling account.
-
Follow Guidance How to set up Acuity Scheduling on Rapidomize . Once connected, press select key to select your Acuity Scheduling account.
-
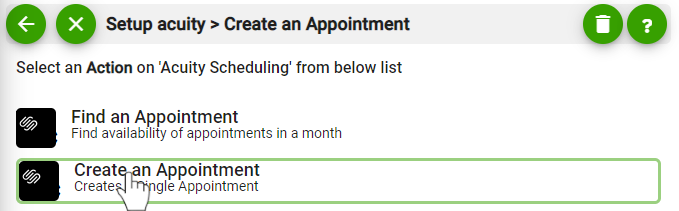
Select the “Action” by clicking on Create an appointment icon.
-
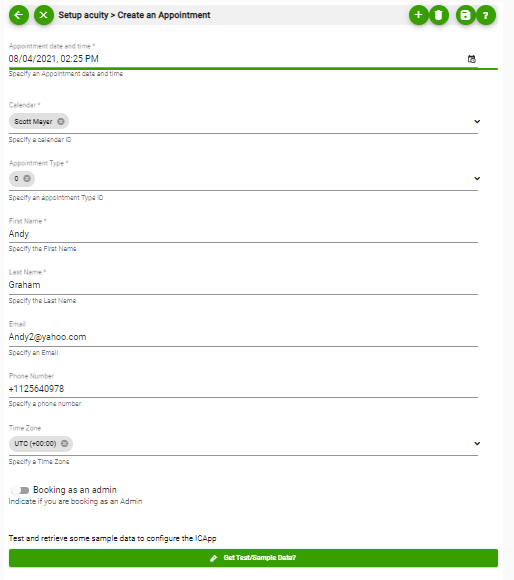
Specify the appointment details such as appointment date and time you wish to have and calendar to be used. Select the appointment type. Provide the details of the person who is making the appointment. Select the time zone and indicate whether you are making the appointment as an Admin or not.
-
Test your action by clicking on “Test / Get Sample Data”.
-
Save your
ICApp by clicking on “SaveICApp ”. -
You will get a card entry in “Intelligent Connected Apps page”.
-
To activate the
ICApp , turn ON the “Run” toggle slider. -
Click on “Status” icon on the card to see the status of your
ICApp from the Dashboard. -
Once you activated your
ICApp , it will run according to the specified schedule.