Setting up your Email Action
-
Once you test your Trigger data, you need to select an action app to use with the Trigger.
-
To add this action app to your
ICApp , click on the “add service” button.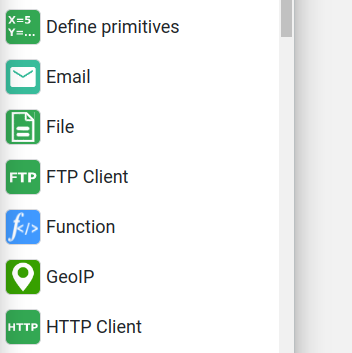
-
Select “Send Email” as your Action app from the list of
ICApps . -
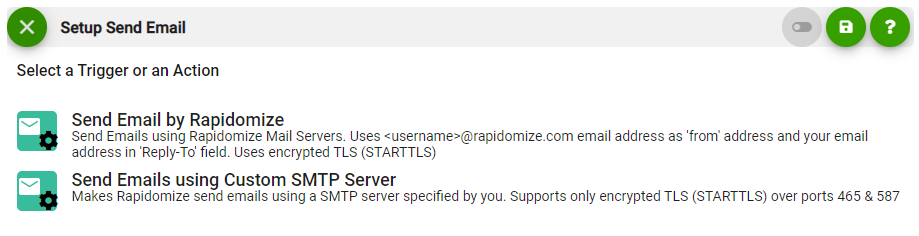
Select the “Action” by clicking on “Send Email by Rapidomize” icon.
-
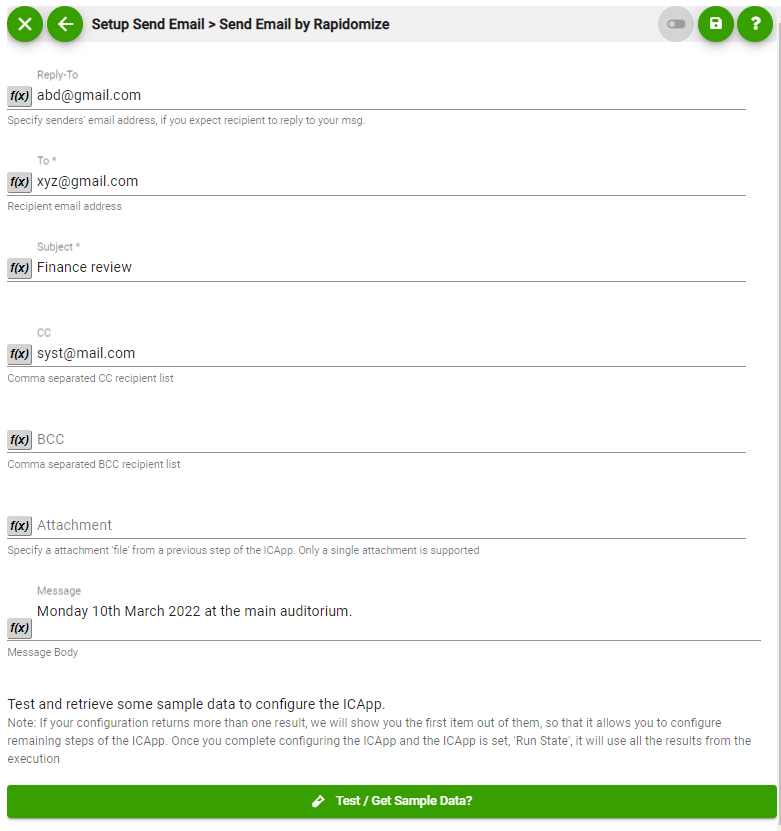
Senders Email address will automatically appear as noreply@rapidomize.com and your Email address (as “on behalf of xxx@xy.com”) also appears in the Email for the identification and receipt of a reply.
-
Provide the receiver Email addresses along with the message content, any attachments etc.
-
Test your action by clicking on “test/get sample data?”.
-
Save your
ICApp by clicking on “SaveICApp ”. -
You will get a card entry in “Intelligent Connected Apps page”.
-
To activate the
ICApp , turn ON the “Run” toggle slider. -
Click on “Status” icon on the card to see the status of your
ICApp from the Dashboard. -
Once you activated your
ICApp , it will run according to the specified schedule.