Setting up your Acuity Scheduling Trigger
When a new appointment is made in Acuity Scheduling, this
-
To start creating this
ICApp , select “Intelligent connected apps” menu icon and then click on “Create newICApp ” button. -
Give a name for your
ICApp . -
Go to next screen by clicking the green arrow button.
-
Select “Acuity Scheduling” which is to trigger your
ICApp from the list of apps(Trigger is an event which starts theICApp ). -
Connect your Acuity Scheduling account to Rapidomize and authorize Rapidomize to access your Acuity Scheduling account.
-
Follow Guidance How to set up Acuity Scheduling on Rapidomize. Once connected, press “select” key to select your Acuity Scheduling account.
-
Select the trigger When new Appointment from the list of triggers.
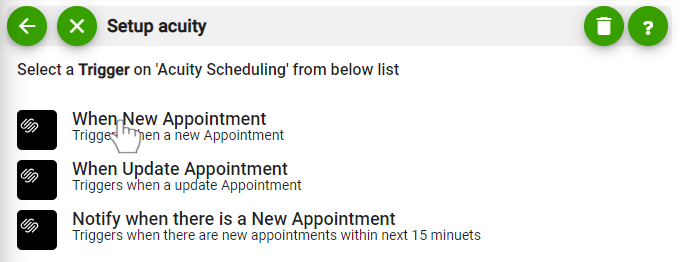
-
Test and retrieve sample data of your Trigger by clicking on “Test / Get Sample Data”.
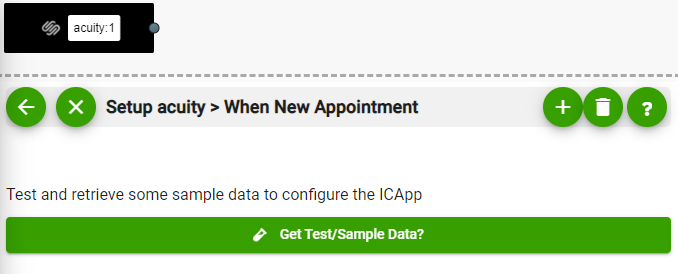
- Proceed with the desired action.